Toolkit
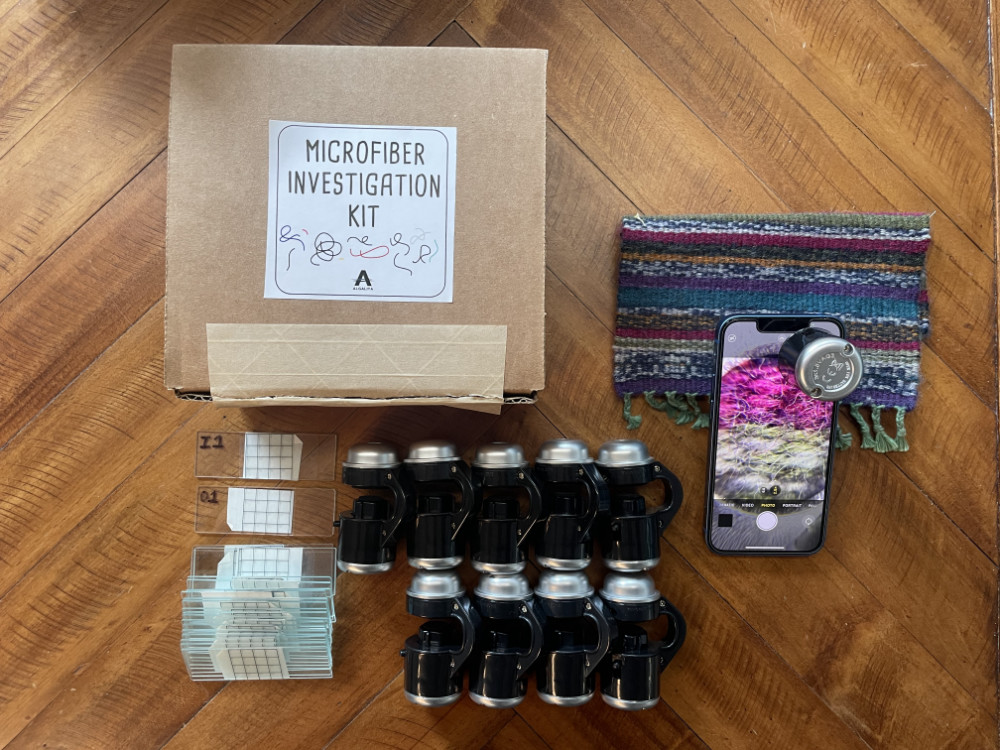
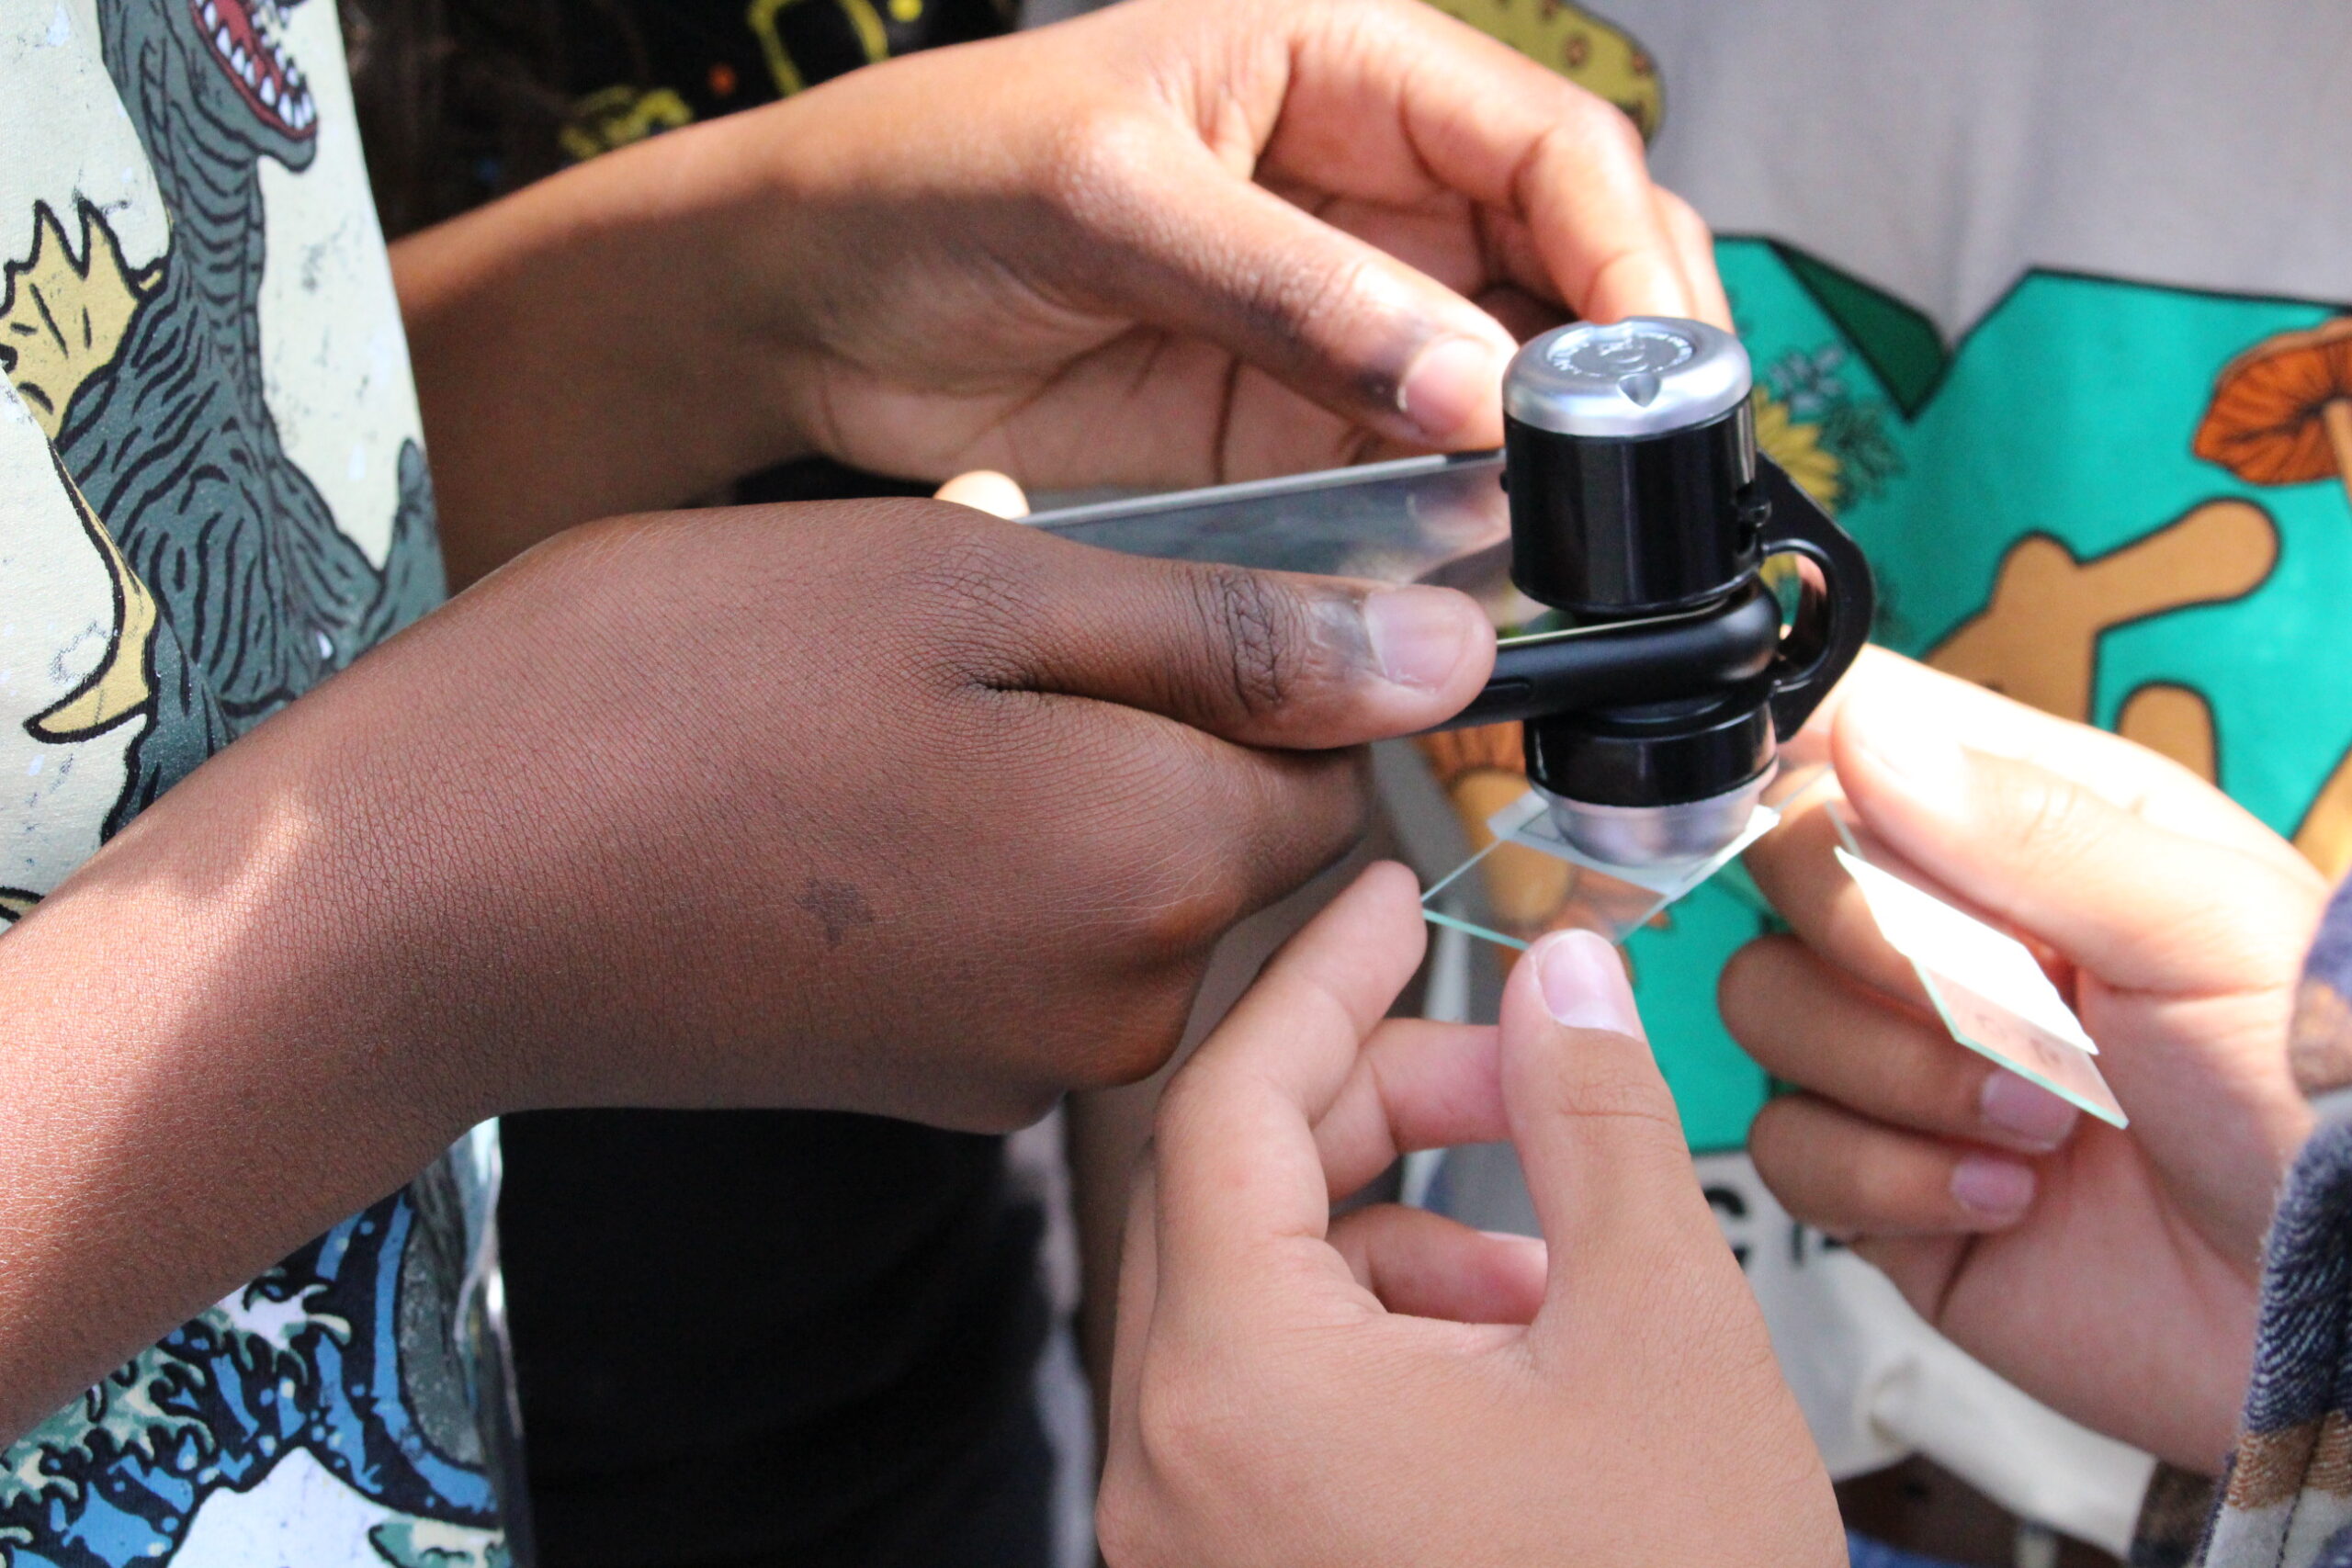
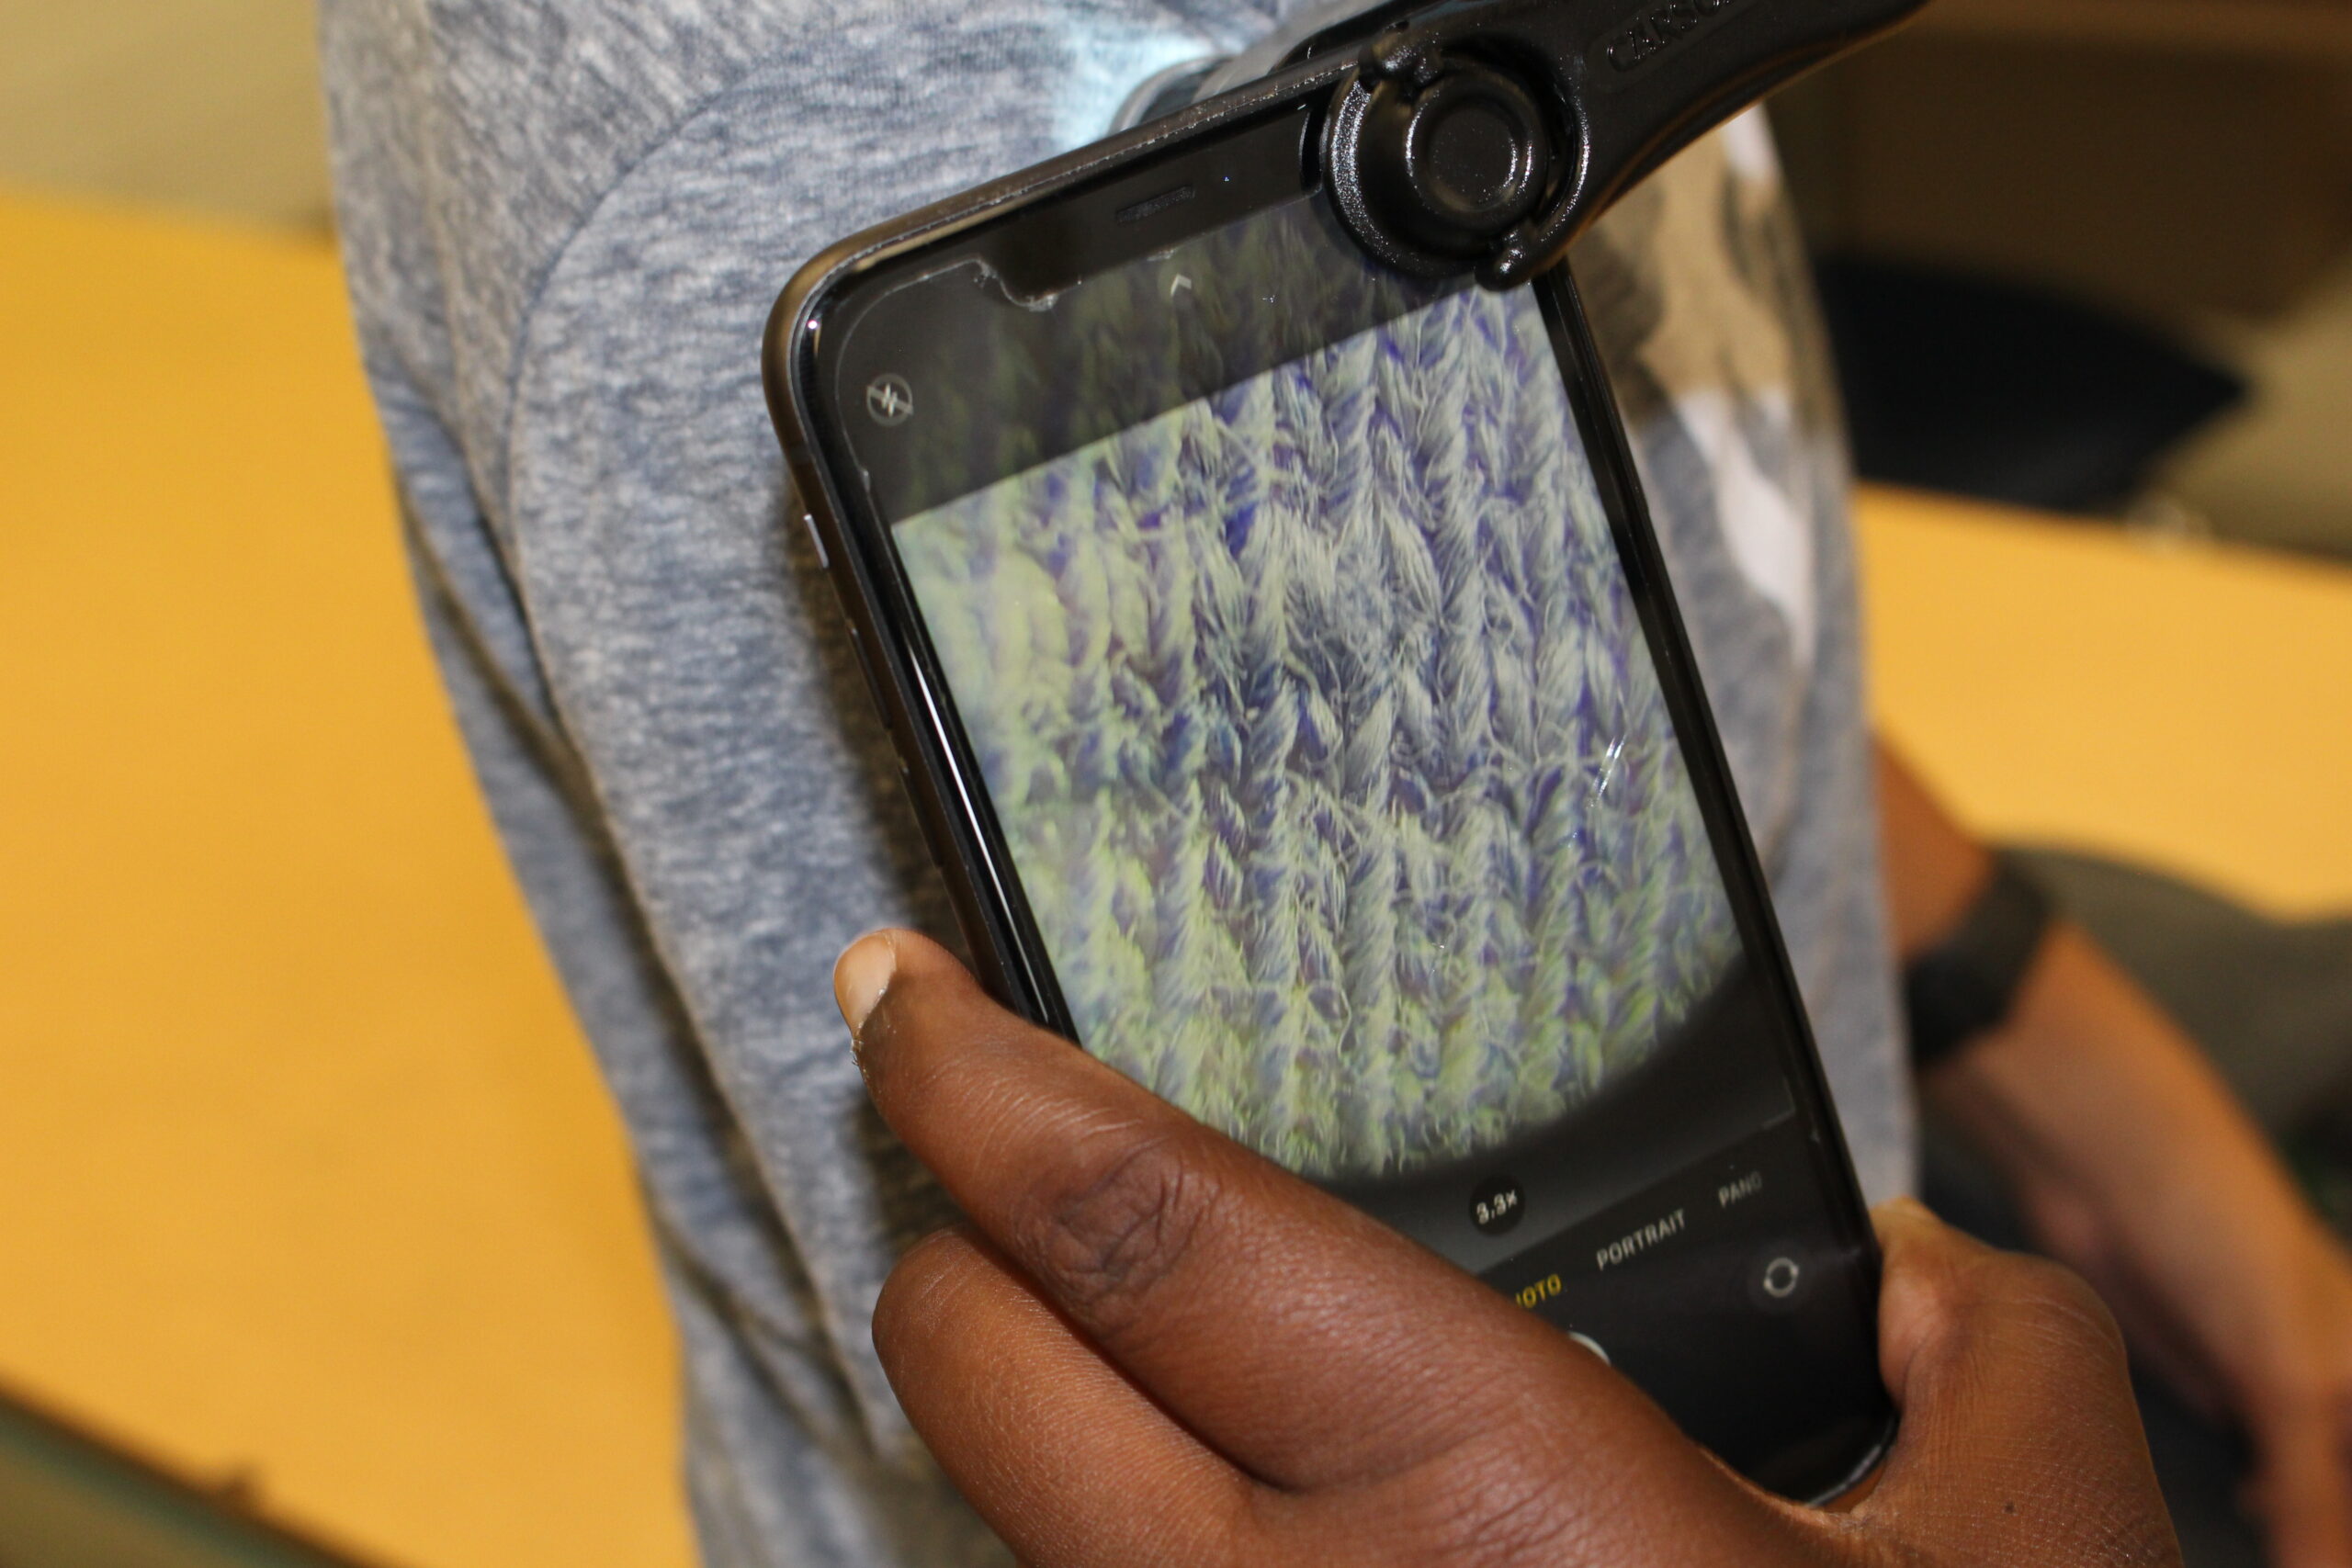
Photo credit: Algalita
Measure microfiber air pollution in your classroom with clip-on microscopes.
Grades 6 and up
Time Needed 2 to 4 hours across 1 week
Related Standards and Units NGSS Middle School, Synthetic Materials (MS-PS 1-3), Human Impact on the Environment (MS-ESS 3-3), NGSS Science and Engineering Practices
Need new tape sample squares for the coming school year? We’ll send you more! Just complete this form.
Toolkit Details
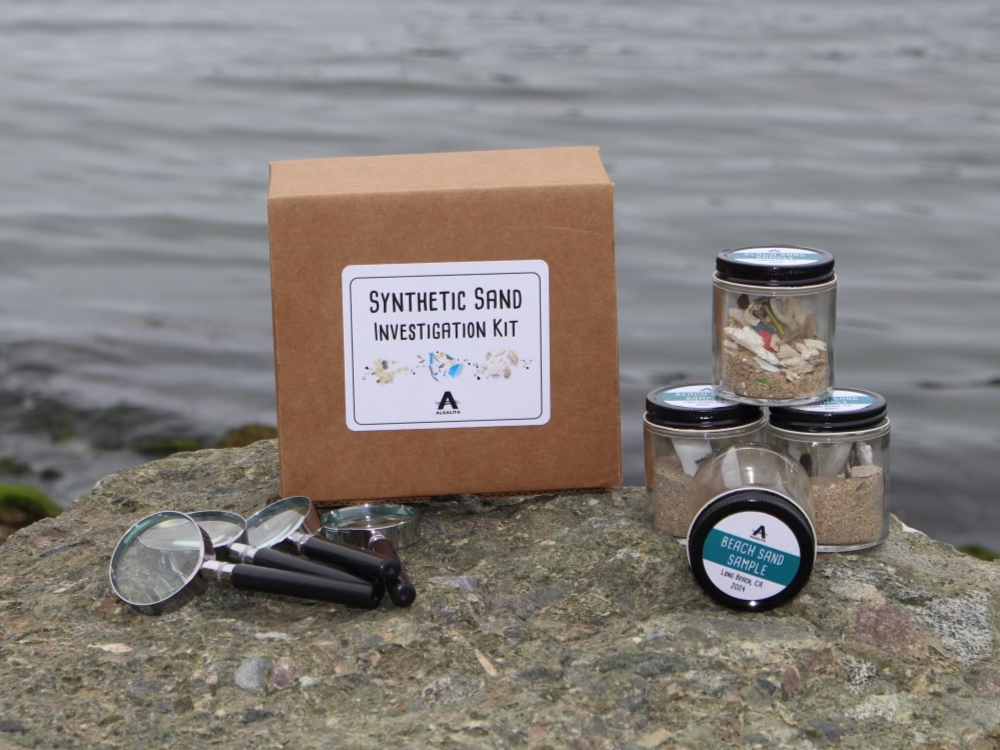
What is in the Investigate Microfibers Kit?
– 10 clip-on microscopes that clip onto smart phone (1 per group of 2-4 students)
– 20 sampling slides with a grid and white sampling tape (forensics tape!)
Materials you’ll need to procure
– masking tape,
– permanent markers,
– paper towel AND a broom/brush/vacuum for outdoor spots,
– access to one smart phone for each clip-on microscope
NGSS HS 5E Lesson Plan
– Investigate Microfibers – NGSS High School 5E Lesson Plan – PDF
Editable Handouts
– Investigate Microfibers – Student Workbook – Google Doc
– Investigate Microfibers – Class Data and Feedback – Google Slides
– Investigate Microfibers – NGSS High School Extension Activity – Google Doc
Already have a kit but need replacement parts?
– Fill out our toolkit resupply form
Purpose and Context
Microfiber pollution and exposure is still a new area of research within the field of plastic pollution. We want to better understand our exposure to airborne plastic microfibers. Join us to study them with our Classroom Microfiber Investigation Kit. Compare indoor and outdoor deposition levels using a clip-on microscopes and our simple sample collectors.
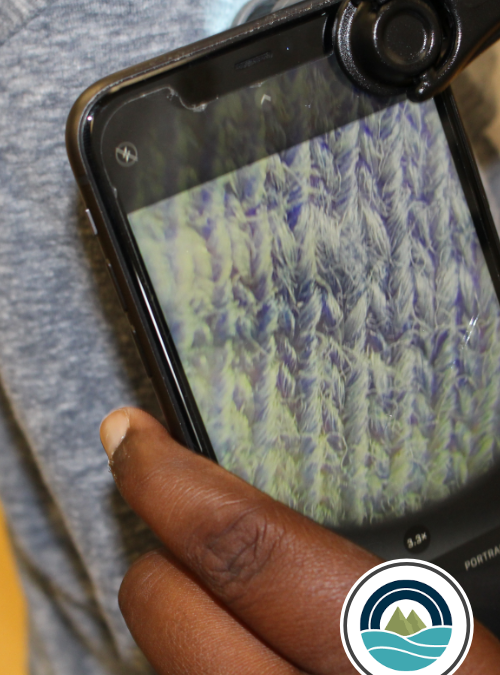
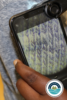
We’re a nonprofit called Algalita, and we created this Microfiber Investigation Kit! We’re working together with our sister nonprofit Moore Institute for Plastic Pollution Research to better understand our exposure to microfibers. Together with classes across the USA, your students will contribute to our better understanding this type of pollution. With this kit, you’ll help us investigate microfibers by collecting samples at your school by comparing indoor and outdoor microfiber levels. We’ll be using tiny microscopes that clip onto a smartphone, like the one in the picture.
We ask that participating classes return their class data and feedback by sending the completed Investigate Microfibers – Class Data and Feedback – Google Slides and an example Student Workbook to us at the completion of the activity. We’ll reach out by email to facilitate that.
Instructions
Prepare
- Print one Investigate Microfibers – Student Workbook – Google Doc for each group of students to record their findings. Alternatively, upload it to your LMS for students to complete digitally. The kit includes supplies for up to 10 groups. If you’re planning to use the kit in multiple class periods, you’ll just need to supply extra tape to replace the white tape on the microscope slides. Labels with a light colored background or 1 in. wide light colored masking tape should work.
2. Watch the instructional video (right/below) on your own before showing in segments in class before each part of the activity.
3. Get familiar with the clip-on microscope so that you can help your students as needed. Open the camera application on the phone. Clip the scope onto the phone so that the lens sits over the camera lens. You may need to remove the phone case for it to fit. On phones with multiple camera lenses, move the scope to each one until you find the one with the clearest image. It should look like a circle surrounded by a dark area. Zoom in so that the circle fills most of the screen. Place the scope on a surface that you want to look at. Use the camera app to take photos.
In Class
- If you haven’t already, start by introducing your students to the topic of plastic pollution using any of the Related Resources and videos at the bottom of this page.
- Divide students into 10 groups. Students will work together in these groups throughout the 4 activities.
- Have students follow along with their Student Workbooks.
- Record and summarize class data and feedback as indicated in the details below.
Activity 1. How are clothes made?
- Have students review the Activity 1 information in their Student Workbook to learn about how clothes are made.
- Then screen the video (right/below) “Watch 350 cotton balls turn into a shirt” to show how fabric is made. Start at 0:11.
3. Pass out 1 clip-on scope to each group. Show section of the instructional video from 00:00 – 01:53 to show students how to attach the clip-on scope to their phone. Give them a little time to get familiar with the clip-on microscopes and have fun looking at different things in the classroom.
4. Students follow the Activity 1 Investigation in their Student Workbook to identify 5 different things made of fabric and record their findings in their Workbook. For each textile, have them take a close-up photo showing the fibers using the clip-on microscope attached to a phone. They’ll try to identify how the fabric was made using the patterns they see.
5. Optional Discussion Questions:
- What were some patterns that you noticed about the different textiles?
- Did you find any other things made up of fibers but that would not be considered a textile?
Activity 2. What are clothes made from?
- Have students review the Activity 2 information in their Student Workbook to learn about what natural resources our clothes are made from.
- Then screen the video (right/below) “The life cycle of a t-shirt” to learn about the process of making cotton clothing and the impacts on the planet. Show the video from 00:06 – 00:51 for a quick intro to how cotton is grown to make a t-shirt, or up to 2:30 for more about the environmental impacts.
3. Screen this next video from 2:03 – 3:38 for “How Petroleum is Made into Polyester” to learn about how about 65% of clothing is made today.
4. Students follow the Activity 2. Investigation in their Student Workbook to identify what materials their shirts are made of.
5. As a class, collect the data from each group to find out how many articles of clothing that were checked, contain synthetic fibers. As a class, calculate the percentage. Record the data in the Class Data and Feedback Slides (Slide 2).
Activity 3. What are microfibers, and why are they concerning?
- Have students review the Activity 3 information in their Student Workbook to learn about what microfibers pollution is.
- Then screen the video (right/below) “The Story of Microfibers” to learn about the issue of microfiber pollution. Start at 01:12 to skip to the microfibers section.
3. Show section of the instructional video from 01:53 – 02:56 to show students how to set up the Activity 3 Investigation: Are there microfibers in our school’s dust?
4. Students follow along with the Investigation Setup Methods in their Student Workbook, and complete Investigation Set-up Data Table.
END OF DAY 1 / START OF DAY 2 (5 DAYS LATER)
5. Show the instructional video from 02:56 – END to show students how to collect their microfiber sample and count the microfibers.
6. Students follow the Sample Collection and Counting Microfibers Method in their Student Workbook to collect their microfiber sample and count the microfibers for each of their sample locations. Students record their data and photos in the Student Workbook.
6. Students answer the Analysis and Reflection prompts in their Student Workbook.
7. Have each group add their data to the Class Data and Feedback Slides (Slide 3 and 4), and use the prompts to summarize the data.
8. Lead a class discussion to allow each group to share some of their observations and collect their feedback about the Microfiber Investigation Kit!
Activity 4. Microfiber Pollution Solutions
- Have students use the Activity 4 prompts to brainstorm ways to address classroom microfiber pollution. Ideas could be strategies to mitigate impact, for example, air filters, or to prevent impact, for example work towards using fewer synthetics.
- Lead a class discussion to share students’ ideas, and possibly come up with a class project (see more ideas below).
- Screen this NHK World Japan video for an inspiring example of people making clothes that are compatible with our Earth: Clothes to the Earth
- Screen the video (right/below) How fast fashion adds to the world’s clothing waste to learn about how we are all contributing to clothing waste, and how we can be better stewards of our clothing and clothing waste.
Extension project ideas:
- Create a Public Service Announcement (PSA) against Fast Fashion
- Create a petition for cotton uniforms
- Write a Wear Out Your Clothes PSA or rap (with Flocabulary)
- Organize a classroom or school wide clothes swap or uniform share down program
- Fundraise for air filters
- Design a shed-o-meter (device that measures or minimizes microfiber shedding from clothes)
- Write a research paper on degradable fibers
Associated Standards
NGSS
5-PS1-3 Make observations and measurements to identify materials based on their properties.
MS-PS 1-3 Gather and make sense of info to describe that synthetic materials come from natural resources and impact society.
MS-ESS 3-3 Apply scientific principles to design a method for monitoring and minimizing a human impact on the environment.
Science and Engineering Practices: Planning and Carrying Out Investigations, Analyzing and Interpreting Data, Using Mathematics and Computational Thinking, Constructing Explanations and Designing Solutions, Obtaining, Evaluating, and Communicating Information
![]()
This Toolkit was created in partnership with the Moore Institute for Plastic Pollution Research.
Related Resources

Lesson: The Problem with Plastics
Brainstorm and discuss the benefits and consequences of plastic.
Grades 4 and up
30 minutes
Lesson: Synthetic or Natural?
Contemplate the difference between synthetic and natural materials that make up common items in the classroom.
Grades 5 and up
30 to 60 minutes
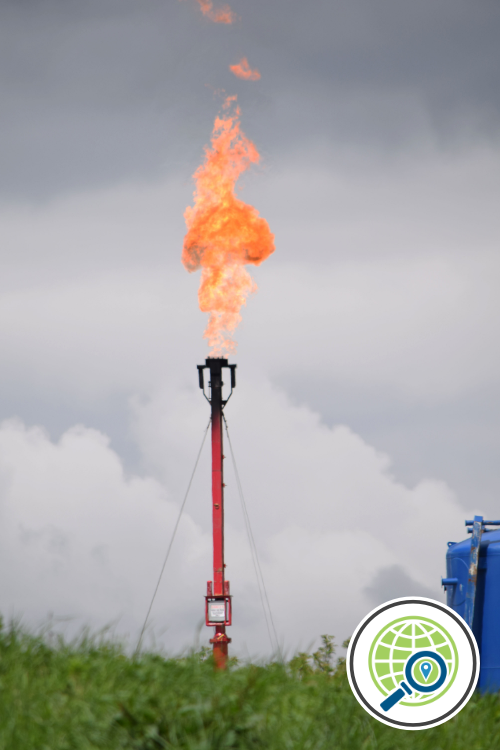
Lesson: How and where are plastics made?
Find out how plastics are produced in the US and find out how it impacts communities using geography tools like our GIS interactive map.
Co-created with FracTracker Alliance
Grades 7 and up
30 to 60 minutes
Lesson: How is plastic production connected to climate change?
Analyze how plastics production contributes to greenhouse gas emissions using our interactive map.
Co-created with FracTracker Alliance
Grades 9 and up
60 to 90 minutes
Explore more
Plastic Pollution Basics
A quick crash course on plastic pollution and what we can do about it!
Learn more
The Story of Plastic (Animated Short)
A brief introduction to the issue of plastic pollution, produced by Story of Stuff.